Developers tend to spend a lot of time in their Terminals, and while most know all the basic commands to run, there are some that are less commonly used, but quite nifty to know.
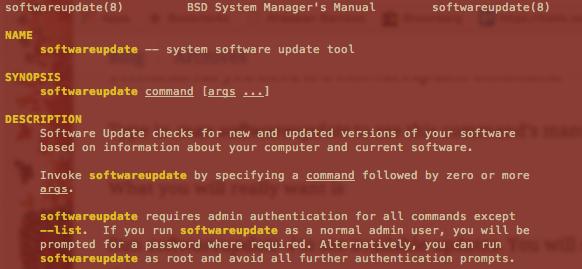
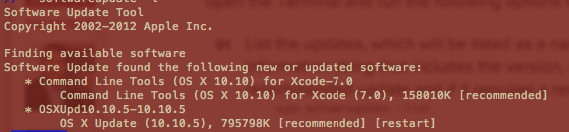
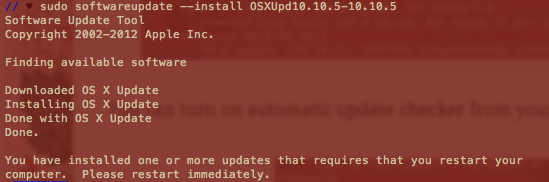
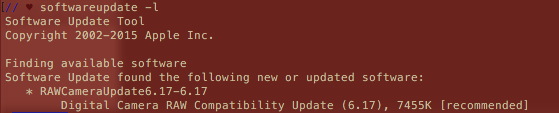
In an earlier post, I mentioned that one can use command line to run a software update command: softwareupdate -l to see what updates are available:
Terminal, or more accurately, Terminal.app, is a terminal emulator program that provides a connection to your shell (most likely bash; run echo $0 to see what yours is running).
Technically speaking, running commands in Terminal is really running commands in a command-line interface that runs in a shell that runs in Terminal.
Now that we got that out of the way –
Some basic tricks:
Upordownkey to navigate between commands. I useupall the time when navigating to a previously used command that is too long to type again.!!to repeat last command (this will be specific to your Terminal window or tab in which you run it)
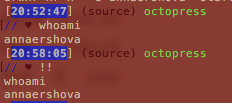
Ok, it is actually easier to press the up arrow once, but hey, saying bang bang out loud is a lot more fun.
- Drop file name from Finder into terminal to get its path – it can be then copy-pasted into a
cdcommand etc.
More ways to navigate Terminal using familiar shortcuts:
Ctrl + Tto open a new tab within the same Terminal session.Ctrl + Fto search your Terminal’s tab or session (actual text output thereof).Command + +orCommand + -to zoom in or out.Command + Gto go to a next search match,Command + Shift + Gto go to a previous match.Control + CorCommand + .to cancel a command. Rails developers use that a lot to stop Rails server from running, for instance.Use
TABto autocomplete a directory name. UseTABTABto show a list of options when there are multiple matches.
Who am I, where am I, and what time is it anyway?
pwdto see user’s current directory:

whoamito see username of the owner of the current login/connection session in the shell (or in manual’s words, “display effective user id”)
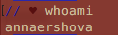
- While
whoamiis a very commonly listed command in all of the top-20-Terminal-commands-you-must-learn-now list, its cousinsWhoAmIandwho am iare less known:

(There is no manual entry on WhoAmI, and that seems like a pretty rare command in general.)
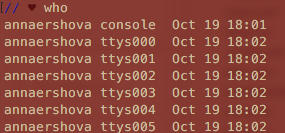
- Another cousin
whodisplays a more expanded version ofwho am i, effectivly showing all users that are currently logged in into a terminal session:
- And yet another cousin
w“displays who is logged in and what they are doing:

dateto see current date and time:

How do I get around?
cd directory_nameorcd path/to/directoryto move to a different directoryTABcan be used withcdto autocomplete a directory name, but using an asterix (*) as a wildcard also works:

?charactersto search for a specific name:
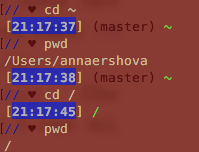
cd ..to move up one directory,cd ../..to move up two directories, and so forth.cd ~or justcdto go to your home directory.cd /to go to the level of your file hierarchy (this is not the same as home):
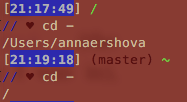
cd -to go to the last visited directory:
- Note on case sensitivity: generally, names of files and directories (so that
cd octopressis the same ascd Octopress) are not case sensitive unless you have specially set up your system to be that way.
So what am I seeing in here?
lsto see a list of files in your directory (orls directory/pathfor another directory)

ls -lto see a long list of files, including creation dates and access permissions, number of links in the item, etc:

ls -lhorls -l -h(flags can be combined) to see a human readable output as long list. In this case, the only thing that changes is size in bytes is converted into units that make more sense such as kilobytes. Note that-hflag can be use with some other commands as well.
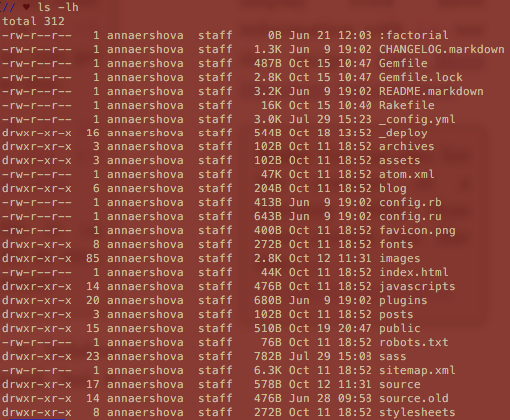
(Try running ls first, then !! -l, then !! -h to stack these commands. Or just press an up key and add those flags before hitting enter).
ls /(or any otherlscommand with aflagand/) to see contents of home directory. Note that normally, you have to be in the directory which contents you are trying to view.du -sh directory_nameto see size of a directory: